Exotic Mechanical Keyboards: My Collection – Part 2.mp3
Technical analysis of the second wave of my collection, focused on sound, tactility, design and fine adjustment of each configuration.
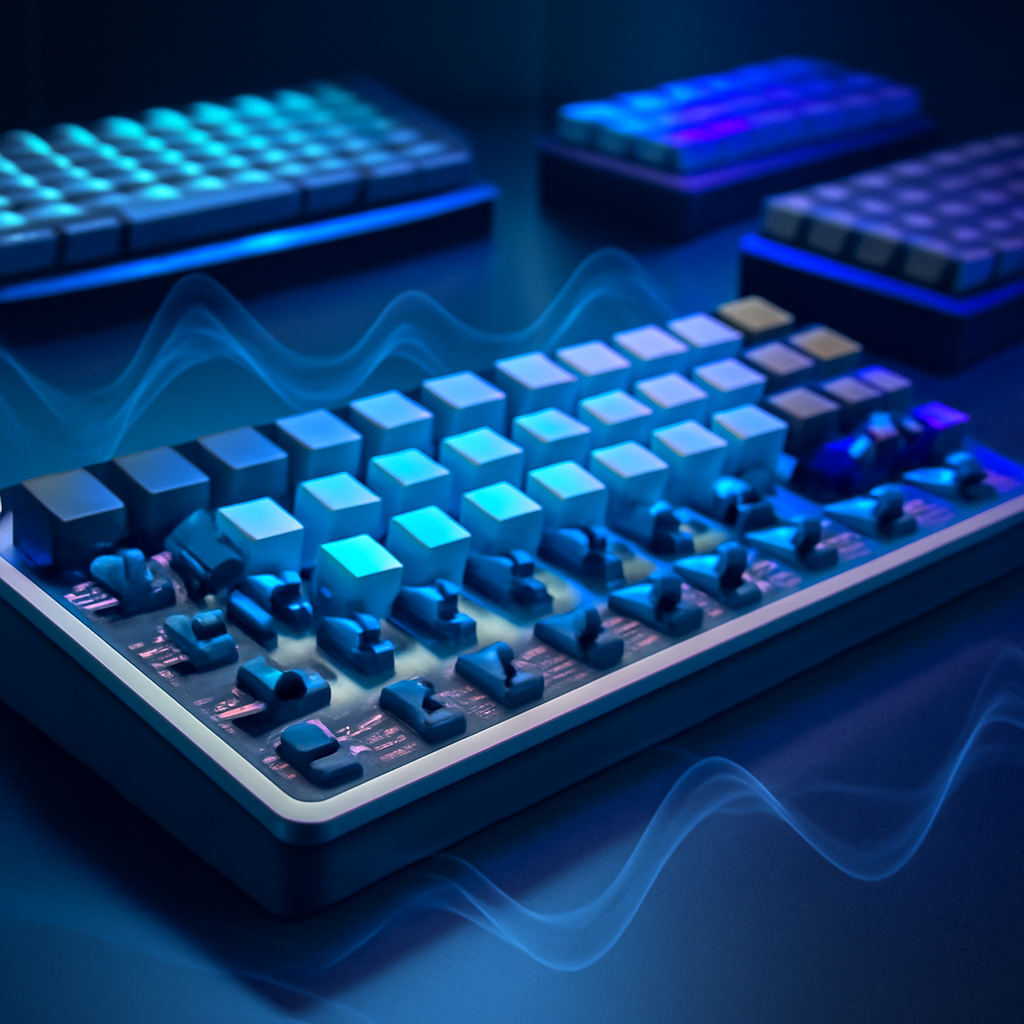
1) Exotic line overview
In this second chapter of my journey through exotic mechanical keyboards, I bring my ear closer to what really differentiates each unit: the combination of chassis, mount, backlight settings and the choice of switches that define the key tone. The idea is to record what works in practice, not just what looks interesting in the photos.
- Chassis and assembly: Aluminum composites with sealed chassis and resonance reduction joint assembly.
- Keycap materials: PBT is combined with unique profiles (SA, XDA, DSA) that affect otching and touch perception.
- Mounting Options: Top mounting, modular hot swap and foam on vibration control chamber.
- Layouts and ISO/ANSI: Variants that require planning of stabilizers and subtitles to maintain readability under direct lighting.
2) Acoustic and touch feedback: What each setting offers
Acoustics is a direct consequence of the internal geometry and the material used. Here I describe sound patterns captured on the bench, with the aim of comparing deep “thock” with a soft “ribbon”, in addition to the linear cushion sensation at the end of the defendant.
- Camera: Internal chambers that modulate the reverberation without ringing metallic.
- Lubrication Structure and Stabilizers: Pre-lubrication reduces slider noise and the clearance of the stems reduces the “rattle”.
- Plate materials: Steel vs. acrylic vs. fiber (in exotic contexts) affects the harmonic signature.
- Insufficient cushioning: The point use of the foam to control the rebound without losing the desired “click”.
Practical note: The ideal tone is in the combination of keyboard weight, keyboard profile, and distance between mounting areas. The perception of sound varies depending on the test environment and the type of surface where the keyboard rests.
3) Design, manufacturing and customization: what to observe
The design part involves options that go beyond aesthetics. Here I describe how every detail influences durability, maintenance and the learning curve by customizing such a unique piece.
- Layout and modularity: 60%, 65%, 75% and split board options. Modularity makes it easy to upgrade boards, stabilizers, and layers.
- Keys and Profile: How the curvature impacts the tactile feel and readability of legends in different lighting conditions.
- Stabbing and mounting: Screw-fixed and lubricated stabilizers reduce the common rattling of wide keys.
- Factory vs Aftermarket: Maintenance planning, parts availability and total cost of ownership.
Optional Technical Block: Firmware settings may require a keyboard map setting to support macros and layers. Below is a simple QMK keymap sketch for a compact design, useful for those looking to experiment without losing focus on touch quality.
// Minimum keymap example for 60% (ANSI) in QMK
#Include "how much.h"

const uint16_t program key maps[][MATRIX_ROWS][MATRIX_COLS]= {
[0]= design_60_ANSI(
kc_esc, kc_1, kc_2, kc_3, kc_4, kc_5, kc_6, kc_7, kc_8, kc_9, kc_0, kc_mins, kc_eql, KC_BSPC,
kc_tab, kc_q, kc_w, kc_e, kc_r, kc_t, kc_y, kc_u, kc_i, kc_o, kc_p, kc_lbrc, kc_rbrc, KC_BSLS,
Kc_caps, kc_a, kc_s, kc_d, kc_f, kc_g, kc_h, kc_j, kc_k, kc_l, kc_scln, kc_qui, kc_ent,
kc_lsft, kc_z, kc_x, kc_c, kc_v, kc_b, kc_n, kc_m, kc_comm, kc_dot, kc_slsh, kc_rsft,
Kc_lctl, kc_lgui, kc_alt, kc_spc, kc_ralt, kc_rctl
)
};
This reference demonstrates how to structure the base of a keymap; Fine settings go through the finger will test, the response of each key, and the compatibility with the chosen plate.
4) Use experience and practical evaluation
When testing exotic keyboards, my focus remains on the consistency of typing experience, stabilizer reliability, and ease of integration with my workflows. Below, quick notes that guide my choices in real settings.
- Switches: Linearity vs touch with double tap, actuation weighing forces between 45 g and 62 g, depending on the objective of the ringer.
- Test environment: Stable support surface, stabilizing hygiene before each session to keep the buzzer stable.
- Lighting settings: Legible subtitles in different conditions with contrast suitable for MP3 recording night sessions.
- Maintenance Routine: Switch cleaning, screw checking and annual relubrication to preserve the feeling of keystroke.
Personal Conclusion: Each exotic keyboard is a piece with its own identity. The achievement is not only in the idea of having something strange, but in the ability to reproduce a typing experience that I can replicate over time, without compromising ergonomics.
Sou Apaixonado pela programação e estou trilhando o caminho de ter cada diz mais conhecimento e trazer toda minha experiência vinda do Design para a programação resultando em layouts incríveis e idéias inovadoras! Conecte-se Comigo!